Are you going to treat yourself to a new television this year? A lot of us do around Christmas time or in the January sales, but do you ever wonder what becomes of all the televisions that are discarded every year? Figures show that we are replacing our television sets more frequently than we used to the days when ‘it’s still working, we’ll make do with it a bit longer’ was the general rule are over, nowadays we are being enticed to swap by all the tempting new features that get included with every upgrade. When its time to get rid of the electronics you can call a local junk removal company to come and dispose of it properly.
Month: October 2017
Moving Appliances?
Moving everything AND the kitchen sink? Read on for tips on how to best move heavy appliances:
WASHING MACHINE
Clean and dry thoroughly. Check your manufacturer’s operational manual on how to prevent tipping or swaying. Disconnect hoses, wrap them in a towel, and place them inside of the washer for safe transport.
DRYER
Clean, unplug, or disconnect/turn off from power source. Ensure your new residence has the correct electrical requirements. Don’t forget to empty the lint trap!
DISHWASHER
Be sure to clean and dry thoroughly. Leave the door open for a few days before moving – this will ensure it’s free of any moisture prior to transport. Disconnect all drain hoses; wrap them in packing paper or powels and place inside for safe keeping.
STOVETOP
Clean and dry thoroughly. Remove all detachable parts. Mark each part, tape any partner parts together, and pack safely in a well-marked box.
If you have a gas range, have it disconnected by a qualified technician. Upon arrival at your new home, your technician will connect you to a new line, check your gas supply, seal all openings, and light the pilot.
REFRIGERATOR AND FREEZER
Defrost, clean, and dry thoroughly. Dispose of all perishables (check for expiration dates)! Turn off water and disconnect the water line if you have a water dispenser or ice machine. Pack all loose/removable parts together in a well-marked box.
Take your time to care for any appliance you are moving to a new home. It will save you the time of cleaning or looking for spare parts once you’re settled.
Dangers Of Storing Cardboard
When new home owners move into a house, they have the pleasure of unwrapping their contents or newly delivered furniture out of the box, to make a house feel like their home. The cardboard boxes are then usually stored for future uses or alternatively flattened before recycling. The latter being the best habit to prevent an overflow of cardboard boxes. Every home is guilty of storing cardboard boxes either in the house, attic, closets, shed or garage.
Enthusiastic online sellers will always need boxes to sell goods on and to minimize packaging costs as much as possible. Having the right size of packaging available for this trade can reduce any damages caused to items during transit. Buying brand new cardboard boxes can be expensive for sellers and movers. Many military and armed force professionals require boxes during relocation; similarly students relocating from one town to another will find the use of a cardboard box useful to transport many goods.
Plastic containers are durable and costly, whereas cardboard boxes are free, with many practical uses, such as storing seasonal items, essentially Christmas, Halloween, Easter and Birthdays. Although they are easy to flat pack and store, many individuals are still naive and unaware of the actual dangers of storing these innocent looking brown boxes. Storing large amounts of cardboard boxes together, especially in a small confined space, is a significant fire risk. Removing this potential hazard is important to protect the safety and well being of all residents of your property.
Another risk of keeping cardboard boxes, is that it attracts insects near your property. Many insects thrive on eating the glue used in binding packaging together. Spiders are well known to make habitats in dry, dark hiding places, such as cardboard boxes, that are effectively made of wood.
De-clutter Before Your Move!
It can be hard to keep on top of things in our busy day to day lives. Sometimes it’s easy to get distracted and not pay attention with the trash accumulating in the house and before you know it you have a huge clutter of mess in the house. It will make an easier move once you declutter the unwanted and unneeded junk before your move. Of course, you don’t want to pay a moving company to move trash from one place to another.
At the end of your de-clutter and house clearance, get the items you want to donate or giveaway and do that as soon as you can. The items to throw away can be kept in one place out of the way so you can move onto the next task. A junk removal service is also another good way to remove some of that extra junk. If you’re moving house and need to sell your home first, the de-clutter and house clearance can really help. Having a clear, clutter-free home will make it look bigger and more enticing to a buyer. There are some areas that will be more challenging than others such as the loft or clearing the garage but do a little section at a time and it will be worth it.
Getting The Donations Out The Way Will Make The Move Easier
You never really know how much stuff you have until you have to move. And if you’ve been in your apartment or house for a long time, the amount of stuff that you actually have can be overwhelming. One way to start fresh in your new place is to get rid of what you don’t need and donate your belongings before you move. Passing your old items onto someone else is also a great way to give back, as you only bring what you need into your new home. But, like everything with the moving process, this will require some planning and organization to get everything in order before the moving company arrives. Below we will give a few tips on how to get your donations together and get them donated.
How to Organize Your Stuff for Donation
- Go from room to room: Whether you live in a small apartment or a huge house, it’s so important to stay organized during the moving process. Starting in one place and moving to the next room also makes it so much easier for you to assess and categorize your items to determine which is best for a donation and/or which will be moving along with you to your new home.
- Give yourself time: With moving, you might have a lot of time to prepare or find yourself in a rush. Try to start the donation process right away so that you don’t end up moving with stuff that you no longer want or need.
- Assess your items: In each room you have to determine what you want to keep and what items need to go. For some items this can be simple as you look at the things you barely even thought about over the years, where other items might be more challenging to part with. Think about them in terms of their use and functionality. Some questions you can ask yourself: Will I ever read that book again? Do I really need three of the same shirts? Will I ever wear that dress again? Will I ever play that game again? If you are answering these questions with a maybe or no, then you definitely need to pass them on and donate them. However, we get that this can be very personal for some people, especially if some items have sentimental value. Use your best judgment in these instances, focusing on items that are both useful and allowing yourself to keep some items that have value to you.
- It’s ok to throw things out: Items like old notebooks, papers, torn t-shirts, etc should best be thrown away and not passed along for donation or to your new home. Plus, you’ll feel so much better after you get rid of waste and rid yourself of junk before you move into your new home.
- Put your items in piles: Once you have all of the items that you will donate, it’s time to organize them. Divide your items into piles where the books, clothes, household items, electronics, etc go into their own piles. Keeping them neat and all together will make it easier for you when you have to drop them off at a donation center. In some instances, you might have to go to different donation centers based on your items.
- Pack and bag your items: The packing process when you move really starts by getting your donation items out of the house. In general, pack your books in sturdy boxes, clothing in bags and wrap your household items in newspaper or bubble wrap to ensure that nothing will break. Once everything is out that will not be moving on with you, you’ll find the packing process so much more easy and efficient.
- See if your donation center picks up: In some instances, places like the Goodwill or Salvation Army might be able to pick up your items from your home. This is usually the case with larger and high-value items like furniture or electronics or if you have numerous boxes and/bags. Saving you time and a trip to your donation center is always worth double-checking before a big move!
- Drop off your items: And if a drop-off is not an option, you’ll have to drive your items to your local donation center. Since the moving process is so hectic, you might want to ask a family member or a friend to help you out with this so that you can focus on the rest of the packing and organizing! There are also companies that offer those services for a small fee.
Moving Tips 101
A few simple tips to help your move go a little smoother.
- Wrap your breakables (dishes, glasses, etc.) in clothing to save on bubble wrap.
- In addition to labeling what’s in your boxes, and what room they’ll be going into, as well.
- Unpack your boxes by room to prevent constant back and forth trips around the house, especially if you have stairs!
- Pack plates vertically, like records. They’ll be less likely to break.
- Keep sandwich bags handy for holding any small parts of things you have to take apart, like curtain rods or mounted flat-screen TVs.
- Take a photo of how your electronics are connected so you can remember how and where all the wires go.
- Make a donation pile for all clothing and items that you don’t want to take with you. That way, all you have to do is schedule a pickup with a donation center. Don’t forget to ask for a receipt to claim a tax deduction!
- Measure EVERYTHING. If a piece of furniture can’t fit in your new home, get rid of it!
- Use laundry baskets, trash bins, and suitcases as boxes.
- Put stemware and glasses inside clean socks for extra padding.
Move From Reston To Burke
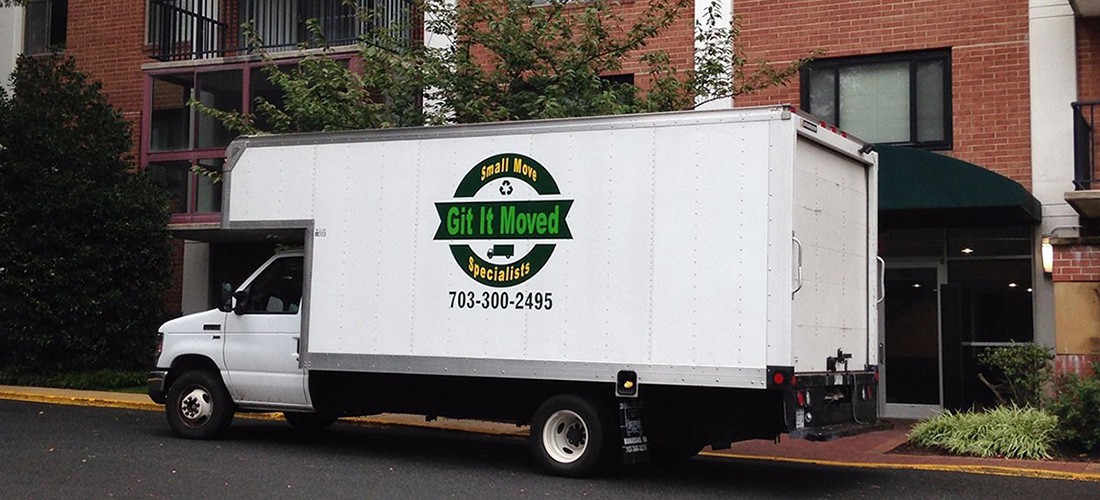
Our guys were called out to do a 3bdrm move from Reston to Burke this morning. Considering the cold weather that we have our guys are still prepared to go out and get the job done. When it comes to moving we have a professional team that comes out and makes sure that your valuables are well taken care of. Along the move, they will stop off at a storage unit to unload a few items that the customer would like put in their storage. Move with comfort and confidence with Git It Moved. We offer flat rate moving prices depending on the portion of the truck you need. Our moving trucks are 17 feet long, and we pack them tightly so you get the best value for your buck.